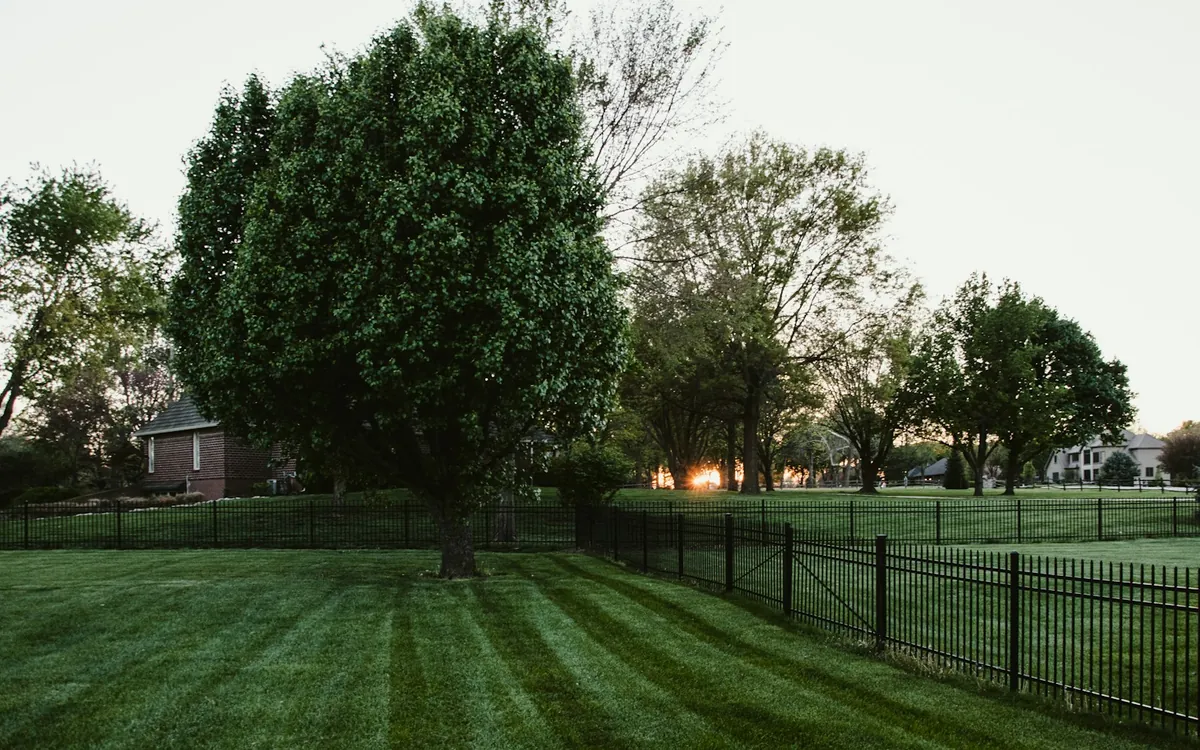
A slope creates two different design questions: how to keep the soil covered and how to maintain it. A patch may support grass but still be awkward to mow. Start with the whole route from the top of the slope to the place water collects.
Find the source of the flow
Maryland Extension identifies erosion and compaction as soil problems that require attention to site conditions. Mark bare soil, channels and water arriving from a roof or paved surface. A seed purchase alone cannot solve concentrated runoff. Record photographs before changing anything.
Test small watering adjustments
If irrigation runs downhill before it penetrates, compare a shorter cycle with a pause to allow soaking. The useful schedule depends on the soil and system. Watch the lower edge as well as the upper part; more time can mean more runoff rather than more useful water.
Choose a maintainable surface
Check the mower manufacturer’s slope limits and operating instructions. Where mowing is unsuitable, plan a locally appropriate planted area or get help designing the slope. Before installing erosion materials, confirm they suit the gradient, establishment method and wildlife setting. For a steep or actively eroding site, a professional assessment is more useful than an improvised retaining structure.
Trace the source before choosing an erosion repair
Use a sketch that shows the top of the slope, the damaged area and the lower edge. Draw incoming water separately from water falling directly on the lawn. A broad sheet of runoff and a channel from a downspout are different jobs.
| Observation | Useful next step | What a tool cannot fix |
|---|---|---|
| Runoff begins only while sprinklers operate | Check application and coverage; record when runoff first appears. | A longer continuous watering cycle can send more water downhill. |
| A channel starts at a roof outlet or pavement | Record the upstream source and the path to the bottom; get site advice before rerouting it. | Seed, a hand aerator or an erosion blanket does not remove concentrated inflow. |
| Bare ground where mowing or walking is difficult | Compare a locally suitable planted area with retained turf and a safe access route. | A new mower does not make an unsuitable slope safe. |
Maryland Extension identifies bare slopes and concentrated flow as common erosion settings and recommends maintaining soil cover. Material selection and installation depend on the actual slope. Common soil problems.
A brief for local help
- Source and destination
- Roof outlets, paving, neighboring inflow, wet areas and where the water leaves.
- Evidence
- Dated overview photos from a safe place; mark channels and exposed roots on the sketch.
- Constraints
- Mower instructions, access, buildings and areas you need to use.
Keep this record on paper or in your own notes. It is a planning aid, not a completed inspection.
Observe from stable ground; do not walk a wet slope to take measurements. Steep or actively eroding ground, water near a building, and changes to drainage deserve a qualified site assessment. Do not use this sketch as a retaining-wall or drain design.
Read the netting specification, not just “straw” or “coir”
An erosion blanket’s filling and its netting can be different materials. Natural straw or coir filling does not establish that the mesh is plastic-free. USFWS’s September 2026 guidance favors temporary products with no netting, or fully biodegradable non-plastic netting with a loose weave and movable, non-welded joints. Plastic marketed as photodegradable or UV-degradable is not the same choice. USFWS: Wildlife-friendly erosion materials, updated September 21, 2026.
Before ordering, obtain the specifications for both the filling and mesh, plus the supplier’s installation and removal instructions. This material check does not determine whether a blanket can handle your slope or concentrated inflow. Keep the runoff-source assessment, safe access and qualified site advice in the plan; neither seed nor a wildlife-friendlier mesh replaces drainage design.
Do not redirect runoff toward a neighboring property or a building to rescue a lawn patch.